Sunday, April 28, 2013

Smash Cake!

Cam is turning 1! Our sweet friends asked me to make a smash cake for Cameron's first birthday party and I was soooo excited! 

As soon as I started my search on Pinterest, I found some of the cutest smash cakes. The one that caught my eye though, was tie dyed! And what kid (or adult) doesn't LOVE sprinkles?!

I wanted to make sure the cake was going to be perfect for the big day...so I made a "practice" cake for the pictures the weekend before.  
Here is where my inspiration came from...
This little cake was made especially for the birthday boy to smash and dig into! Here’s how it works: place baby in highchair, place smash cake on tray, let baby go for it, take adorable pictures! I'm pretty sure this smash cake was a success! :)

Sunday, April 7, 2013

Peanut Butter M&M Cookies

Peanut butter + chocolate. 
Is there really anything better?
Our neighbors had a cookout over the weekend and I needed something easy and delicious to bring. I knew these cookies would be a big hit, and they were. They were still warm and gooey from the oven when I took them over….and seriously, is there anything better than a cookie still warm from the oven???
This is just one of those recipes that you need to have on hand at all times. Everyone loves a good peanut butter cookie.
This the the perfect go-to cookie when you're in need of a sweet treat. They are soft and slightly chewy...and oh so GOOD.

Peanut Butter M&M Cookies
Recipe adapted from Sally's Baking Addiction
Ingredients:
1 stick unsalted butter, room temperature
1/2 cup light brown sugar
1/4 cup sugar
1 egg
3/4 cup creamy all natural peanut butter
1 tsp vanilla extract
1 tsp baking soda
1 and 1/4 cups all purpose flour
1/4 tsp salt
1 and 1/2 cups M&Ms

Directions:
Preheat oven to 350 degrees.
In a large bowl, combine flour, baking soda, and salt.
Using a stand mixer with paddle attachment, cream the butter and sugars together on medium speed. Mix in the peanut butter, egg, and vanilla. Slowly mix in the flour mixture, making sure you don't over mix. Gently fold in the M&Ms. Chill the dough for at least 30 minutes. 
Drop chilled dough by tablespoonfuls onto ungreased cookie sheet. Bake for 9-10 minutes. The cookies will seem undercooked, but they will firm up as they cool.

Saturday, April 6, 2013

Broccoli and Cheddar Fritters

There is a special place in my heart for the combination of broccoli and cheese. They were just made for each other. 
I was inspired by Smitten Kitchen's recipe, but I substituted the Parmesan with cheddar instead and swapped the flour for Panko breadcrumbs. I also baked them instead of pan frying them.
When you want to eat a vegetable that is savory and scrumptious this is the recipe to make. This is the healthier version of the fried fritters you typically get at restaurants. Plus there is only a small amount of breadcrumbs and no oil used to prepare these little goodies!
These are absolutely perfect served with a dollop of creamy yogurt sauce. 

Broccoli and Cheddar Fritters
recipe adapted from smitten kitchen
Ingredients:
for the fritters
3 cups fresh steamed broccoli, chopped
1 1/2 cup of reduced fat grated cheddar cheese
3 eggs
1/2 teaspoon salt
1/2 teaspoon pepper
pinch of red pepper flakes
1/2 tsp garlic powder
1 cup of Panko breadcrumbs
Cooking spray

for the yogurt sauce
1 cup plain, fat free Greek yogurt
1 lemon, juice and zest
1/4 tsp garlic powder
salt & pepper

Directions:
Preheat oven to 375 degrees.

Chop the broccoli into tiny pieces, and steam for about 3 minutes in boiling water with a lid on. Mash with a potato masher until you get a nice rough consistency.

In a large bowl, beat the eggs. Season with red pepper flakes, salt, pepper, and garlic powder. Mix in grated cheese and breadcrumbs. Add the mashed broccoli to the egg flour mixture and mix.

With your hands, form small patties and lay on a parchment lined baking sheet. Lightly spray the patties with cooking spray. Bake for 25 minutes, turning the patties after the first 15 minutes.

For the yogurt sauce, combine all ingredients in a small bowl. Mix well. 

Friday, April 5, 2013

Mini Rolo Pies


This is probably one of the easiest desserts I've ever made. PLUS they are soooo good!

But, beware...they are highly addictive. I'm pretty sure I ate about 5 of them in a matter of minutes. 

 
The gooey marshmallows with the warm and lightly melted rolo is amazing. Add in the crunch of the buttery pie crust, and you have perfection in "mini" form! 

I had to take a picture of what one of these looked like right out of the oven while they were still warm. Rolos that are ooey, gooey, and melted are waaayyyy better than Rolos at room temperature!

Mini Rolo Pies
Ingredients:
1 box (2 rolls) refrigerated pie crust 

1 bag of mini marshmallows
36 Rolo candies

Directions:
Preheat oven to 350 degrees.
Spray mini muffin tins with cooking spray, Unroll one pie crust and use a round cookie cutter to cut circles of dough that are about 2 inches.  Press each round into each muffin cup. Repeat with second crust in box. Bake for 10 minutes.

Remove from oven and pop three little marshmallows into each pie crust. Put the pan back into the oven for about 3 minutes, or until the marshmallow starts to become soft and gooey.

Remove the hot pies from the oven and place one Rolo in the center of each. Let cool completely before moving or removing from the pan. Once cooled, gently use a butter knife to pop them out of the pan.

Thursday, April 4, 2013

Lemon Blueberry Cupcakes

I don't know about you, but I am so ready for spring and everything it has to offer...warm weather, grilling out, floral dresses, flip flops, baseball games, spring veggies, and eating dinner on the back deck. 

These cupcakes are just what you need for those spring days...they're like a burst of spring time yummyiness in your mouth!
I know I've made some pretty delicious desserts, but I'm pretty sure this one jumped to the top of my list after the first bite.
The sweet and moist lemony cake is super light and airy with soft and gooey blueberries scattered throughout. Then, it's topped with a rich and smooth cream cheese frosting with a hint of lemon zest. This is seriously one of the best combos ever.
Make them. You will not be disappointed! :)

Lemon Blueberry Cupcakes
Recipe adapted from Food Network

Ingredients:
for the cupcakes: 
3 cups all-purpose flour, plus 2 tablespoons, divided
1 tablespoon baking powder
1/2 teaspoon salt 
2 sticks unsalted butter, room temperature
2 cups sugar
4 large eggs, room temperature 
zest of 3 lemons, plus 2 tablespoons fresh lemon juice
1 teaspoon vanilla extract
1 cup buttermilk*
2 cups fresh blueberries, plus more for garnish

for the frosting:

1 stick of unsalted butter, room temperature
4 oz cream cheese, softened
4-5 cups of powdered sugar
zest of one lemon
1-2 tablespoons lemon juice

Directions:
for the cupcakes:
Preheat the oven to 350 degrees. Line cupcake tins with 24 paper liners.

Mix the flour, baking powder, and salt together in a bowl. Set aside. Add the butter and sugar to a mixing bowl and cream until light and fluffy. Add the eggs 1 at a time and mix thoroughly. Add the vanilla and lemon zest and mix to combine. Add the dry mixture in 3 parts alternating with the buttermilk, ending with dry mixture.
 
In a small bowl, toss the blueberries with the remaining 2 tablespoons of all-purpose flour. Using a spatula gently fold the berries into the batter. Divide the batter evenly between the prepared liners, filling each about 2/3 full. Bake 16-20 minutes, or until a toothpick inserted in the center comes out clean. Let cool in the pans 5 minutes, then transfer to a wire rack to cool completely.

*If you don't have buttermilk on hand, just combine 1 cup of milk with 1 tablespoon of white vinegar. Let it sit for about 5 minutes before using. 

for the frosting:
Combine the cream cheese and butter in the bowl of an electric mixer. Beat on medium-high speed until well combined and smooth, about 2-3 minutes. Mix in the lemon juice and lemon zest. Gradually beat in the confectioners’ sugar until totally incorporated, increase the speed and then beat until smooth.

Wednesday, April 3, 2013

Kale Chips

I don’t know why I resisted making kale chips for so long.
Everyone seems to be blogging, tweeting, facebooking, and instagramming about how delicious and healthy they are. So...here I am. I'm jumping on the bandwagon and joining the kale chips CRAZE! I seem to be about two years late to the party...but better late than never, right?
Talk about a recipe that is super easy and satisfying — after only 12 minutes in the oven, the kale had reached a gorgeous dark green color, was perfectly crisp, and ready to be devoured! I read a lot of recipes where you could season them with a million different spices, but I figured since this was my first attempt I would keep it simple. 
Olive oil + salt = perfection.
These are the perfect snack. Oh, and by the way, in case you didn't know...they’re pretty good for you, too.   :-)

Kale Chips
Ingredients:
1 bunch fresh kale leaves, well-washed and dried
2 Tbsp. olive oil
coarse sea salt

Directions:
  • Preheat oven to 350 degrees. 
  • Rinse the kale leaves, then put them in a salad spinner and spin away. After it comes out, dry it even more with paper towels. You want the leaves to be very dry.
  • Using a knife, chop the kale into bite-size pieces (about an inch). Place pieces in a large bowl, and drizzle with olive oil. Using your hands, massage the kale until the leaves are evenly coated with the oil.
  • Lay the kale pieces out evenly on the parchment-lined baking sheet, and then sprinkle with salt. Bake for about 12 minutes, or until kale is dark green and crunchy. Remove from oven, let cool, and then serve.

Tuesday, April 2, 2013

DIY: upholstered headboard

I've been thinking about making a headboard myself, instead of buying one, for awhile now. So, I decided to go for it.   
This is where my inspiration came from...

Pottery Barn = $1,500

Crate & Barrel = $2,000
Wowzers. There is absolutely no way I could justify spending that kind of money on a headboard to my husband!  No thanks. 

I've been reading a ton of blogs and getting ideas. Here are some other tutorials that were great: Centsational GirlFreckles Chick, and Jenna Sue Design.
My hubby thought I was insane, but it actually ended up being much easier than we anticipated. And the fact that I just saved us  $1,500 wasn't so bad either!

Here it is...and it only cost us about $100!

Here's the run down:
I was able to get to Home Depot and JoAnn's in one day and grab all of the materials.

Supplies:
  • 1/2 inch plywood, 78x35 for a king size bed (Home Depot - $24)
  • linen fabric (JoAnn's - $16/yard)
  • cotton batting (JoAnn's - 5.99/yard)
  • staple gun (Home Depot - $20)
  • decorative nails (JoAnn's - $21.99)
  • needle nose pliers
  • rubber mallet
First, I measured the width of the bed. For our king size bed it was 78 inches. Then, I measured from the floor to where I wanted the top of the headboard to be. For the height, I measured from about 2 inches below the top mattress to where I thought the top of the headboard should be, which was 35 inches.

I bought the 1/2 inch plywood from Home Depot for around $24. They were super helpful and cut the wood to fit my dimensions.

I decided to splurge a bit on the fabric since I was saving so much money on my DIY headboard. I found a beautiful tan colored linen that I just fell in love with. I love the neutral tone because it's easy to enhance with bright pillows! The fabric was $16/yard and I needed 3 yards to cover the entire piece of plywood. I also bought 3 yards of cotton batting and the nail head trim kit at JoAnn's. Luckily, I had a gift card from my sweet mother-in-law + an online coupon, so the total cost was $58.


When we got home, it was time to get to work!

Start by ironing your fabric if it's wrinkled. Trust me, it makes a difference!

Lay the batting down with the plywood on top of it. Pull the batting until it is smooth and tight. Staple the first side with the staples about 2 inches apart. Move to the other side of the headboard and repeat.

Here is the board once you have completed stapling the batting all the way around:

You'll basically repeat this entire process with the fabric. Lay the fabric face down on the floor and place board with the batting on top. Pull the fabric in the very center over the top and secure it with one staple. Gently work the fabric one side at a time from the center staple to the upper corner, tightening and securing with one staple at a time. You want to make sure there aren't any wrinkles or air pockets between the fabric and batting. 

When you get the to corners, I just folded mine as if I was wrapping a present and stapled away. It doesn't have to be perfect...no one will see it :)

Flip your headboard over and start lining up the nail heads. Now, let me go ahead and tell you...you must have PATIENCE! There was a lot of cursing, correcting, and redoing involved in this step, but I promise it is worth it. Walk your nail head trim around the headboard, gently pounding in the nail heads with a rubber mallet. I chose to use a trim kit that only required a nail every 5 spaces, which made my life MUCH easier. I created a border that was about 2 inches from the edge of the headboard. 

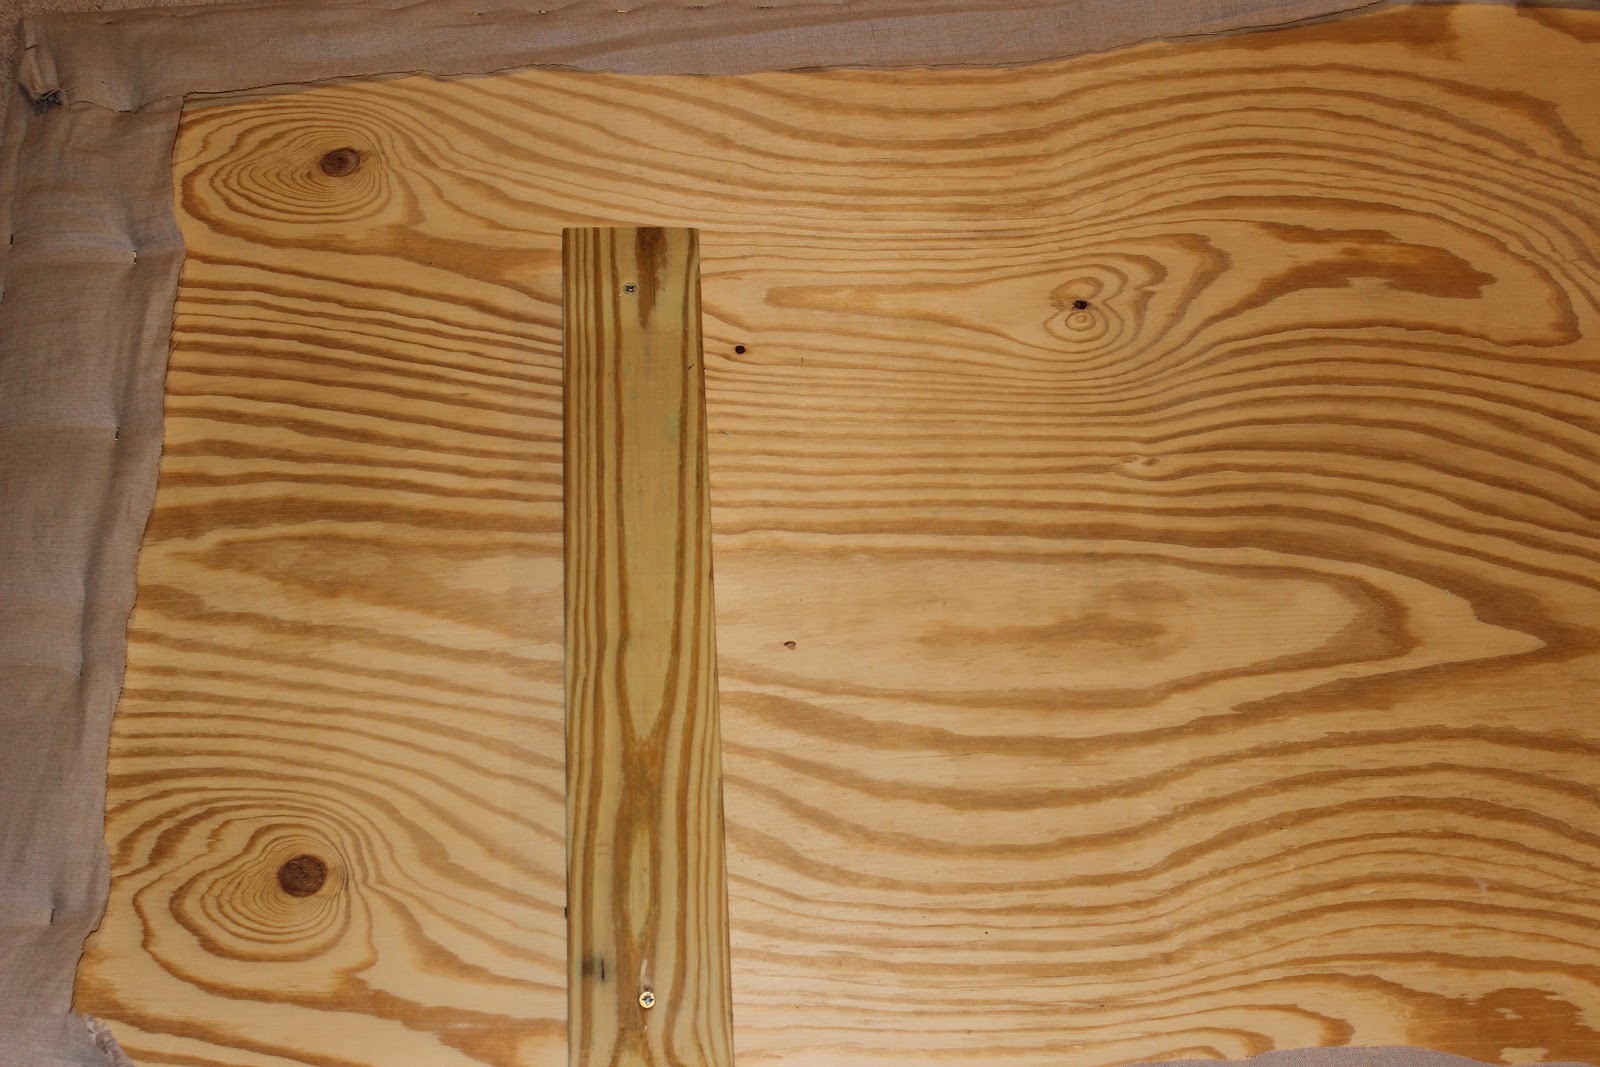
The last step was adding the legs to the headboard in order to stand it against the wall. We bought 2 2x4's that were 2 1/2 feet long from Home Depot. Make sure the screws you use are long enough to secure the 2x4 to the headboard, BUT not so long that you pierce the fabric.


I knew the legs needed to hang about 2 feet from the bottom of the headboard in order for it to be the right height. 

One Sunday afternoon later...TA-DA! The nail heads aren't perfect, but I think that's what I love most about it! I couldn't believe how easy everything was and how much money we saved! 
Total cost: $102

I really want to make one for our guest bedroom...so be on the lookout for another post!

Monday, April 1, 2013

Coconut Gooey Cake Bars

Two words: Ooey. Gooey.
I have to say, I am a HUGE coconut fan. 
The great thing about these bars is how easy they are to make.  You just prepare a basic dough with cake mix, pecans, and chocolate chips, sprinkle it with coconut and drown it in lots of condensed milk.  That’s it.
As the name suggests, these cake bars are well...ooey and gooey! They are even better straight out of the oven. :)

Coconut Gooey Cake Bars
Recipe adapted from Inside BruCrewLife

Ingredients:
1 white cake mix
1 stick butter, softened
1 egg
1 tsp. vanilla extract
3/4 cup mini chocolate chips
1 cup chopped pecans, toasted
2 1/2 c. shredded coconut
1 (14 oz.) can condensed milk
1 cup coconut M&M’s

Directions:
  • Preheat oven to 350 degrees. Lightly spray a 9x13 inch pan with cooking spray.
  • In a large mixing bowl, beat the cake mix, butter, vanilla and egg until a soft dough forms. Stir in the chocolate chips and pecans. Press the dough into pan.
  • Combine coconut and condensed milk in a bowl. Spread evenly on top of the cake dough. Sprinkle the top with the M&M’s. Bake for 28-30 minutes.
  • Loosen the edges of the cake from the pan with a knife, when it comes out of the oven. Cool completely on a wire rack. Cut into bars. Store at room temperature.