The brown butter gives the blondies a super rich and nutty flavor. Throw in some bourbon and chocolate and you have a winner!
 If you're not a fan of the booze you can always leave it out, along with the extra tablespoon of flour. But seriously, why would you want to do that?!?
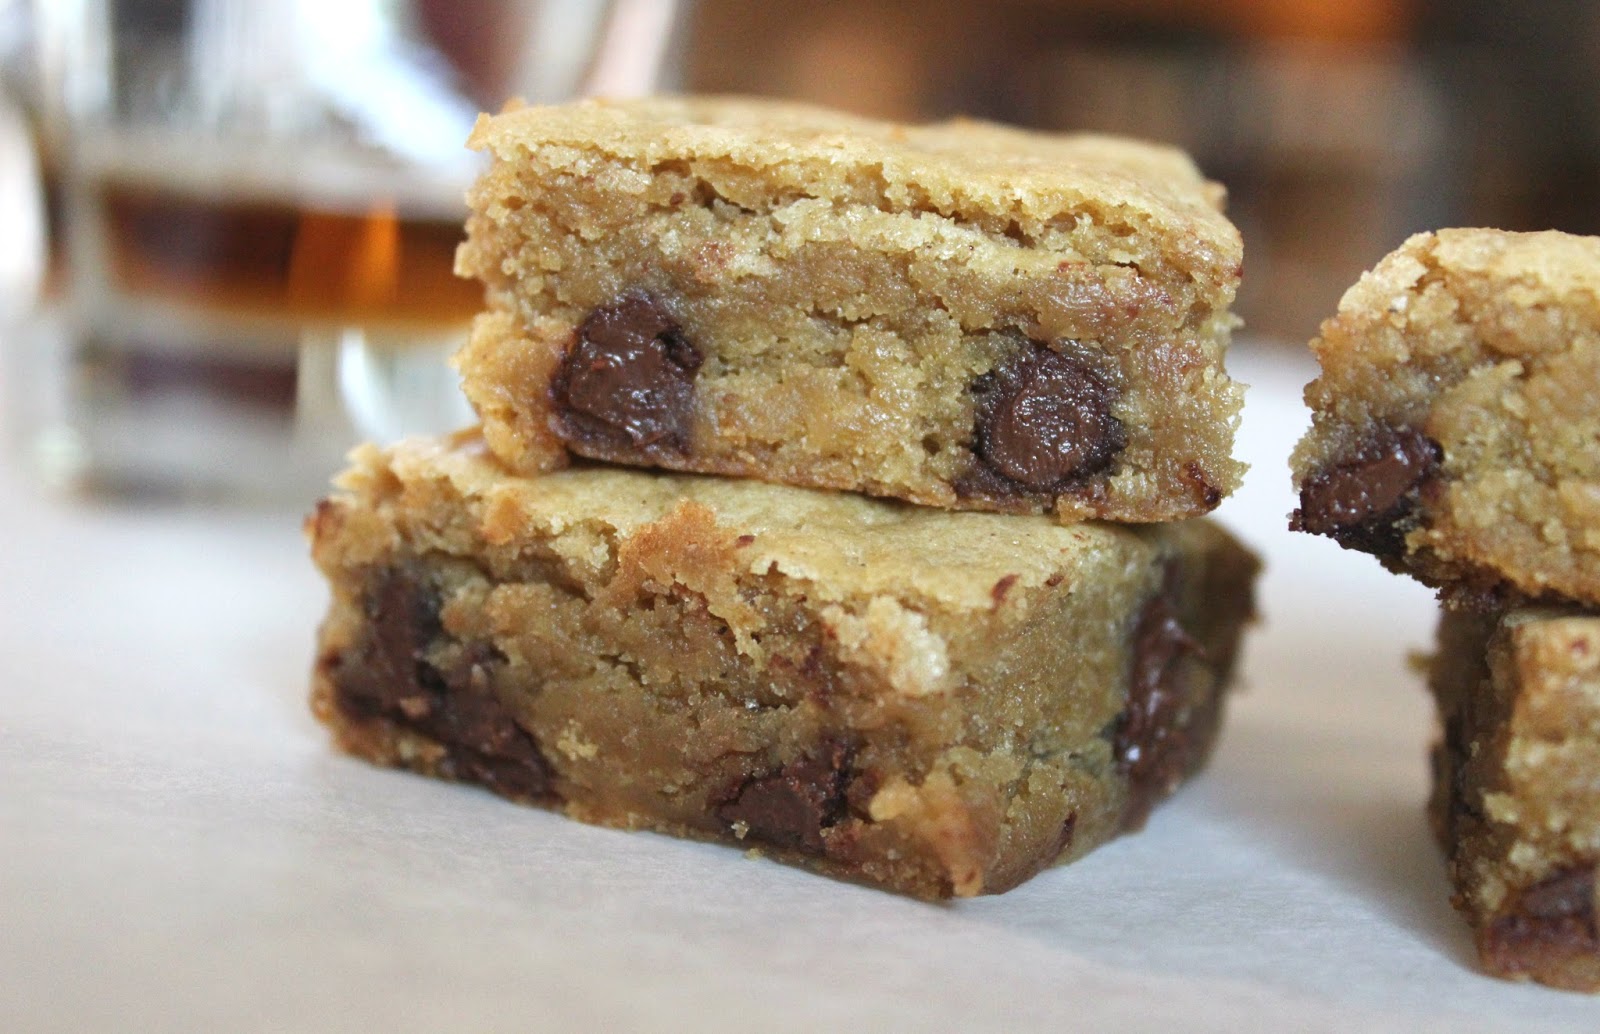

Brown Butter Bourbon Chocolate Chip Blondies
Directions:
Recipe adapted from Smitten Kitchen
Ingredients:
Ingredients:
1 stick butter
1 cup light brown sugar
1 cup light brown sugar
1 large egg
1 teaspoon vanilla extract
1 teaspoon vanilla extract
1/8 teaspoon salt
1 cup all-purpose flour, plus 1 tablespoon
1/4 cup bourbon
1/2 cup semi-sweet chocolate chips
1 cup all-purpose flour, plus 1 tablespoon
1/4 cup bourbon
1/2 cup semi-sweet chocolate chips
- Preheat oven to 350 degrees. Line a 8 x 8 inch baking pan with foil and lightly spray with cooking spray.
- In a small saucepan over medium heat, melt butter. Cook butter, stirring frequently (swirling the pot also works well), until a deep golden color develops. There will be little bits and pieces in the butter that will turn brown, but make sure they don’t burn. The butter should take on a nutty sort of flavor, and this should take around 7-8 minutes. Immediately pour brown butter into a heat-proof mixing bowl, scraping all the bits into the bowl.
- Whisk together the flour and salt in a medium bowl. Set aside.
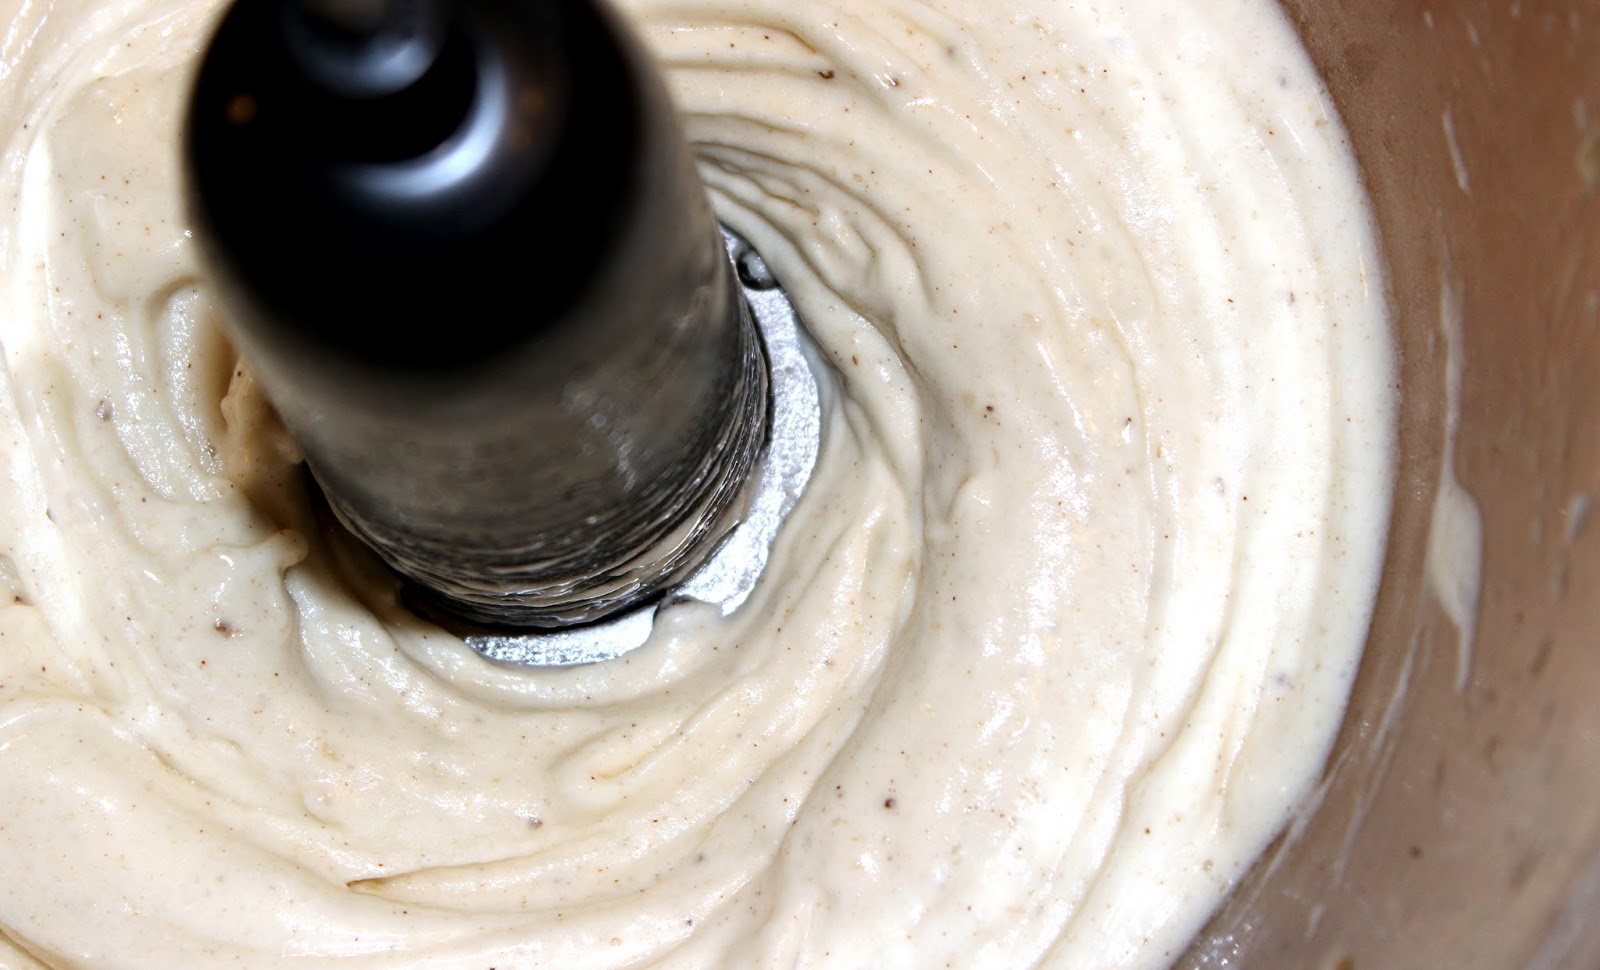
- Beat butter and brown sugar in a large mixing bowl until smooth. Add the egg, vanilla, and bourbon, mixing until combined. Stir in the flour mixture, followed by the chocolate chips.
- Spread the batter into the prepared pan. Bake for 20-25 minutes, until the top is golden brown. Remove the pan and allow to cool on a wire rack. Once cool, cut into bars and serve.